Address Book
This guide shows how to save contacts in the Chia Cloud Wallet Address Book and use them when sending assets.
You need a Cloud Wallet account. If you have not signed up yet, follow the Getting Started Guide first.
Prerequisites
- An active Chia Cloud Wallet account
- At least one contact email to store (required for every contact)
- Optional Chia addresses to save for sending
Open Address Book
-
Log in to your Chia Cloud Wallet account.
-
Open Address Book from the left-hand menu (tooltip:
Address book). If you have no contacts yet, the empty state invites you toAdd Your First Contact:
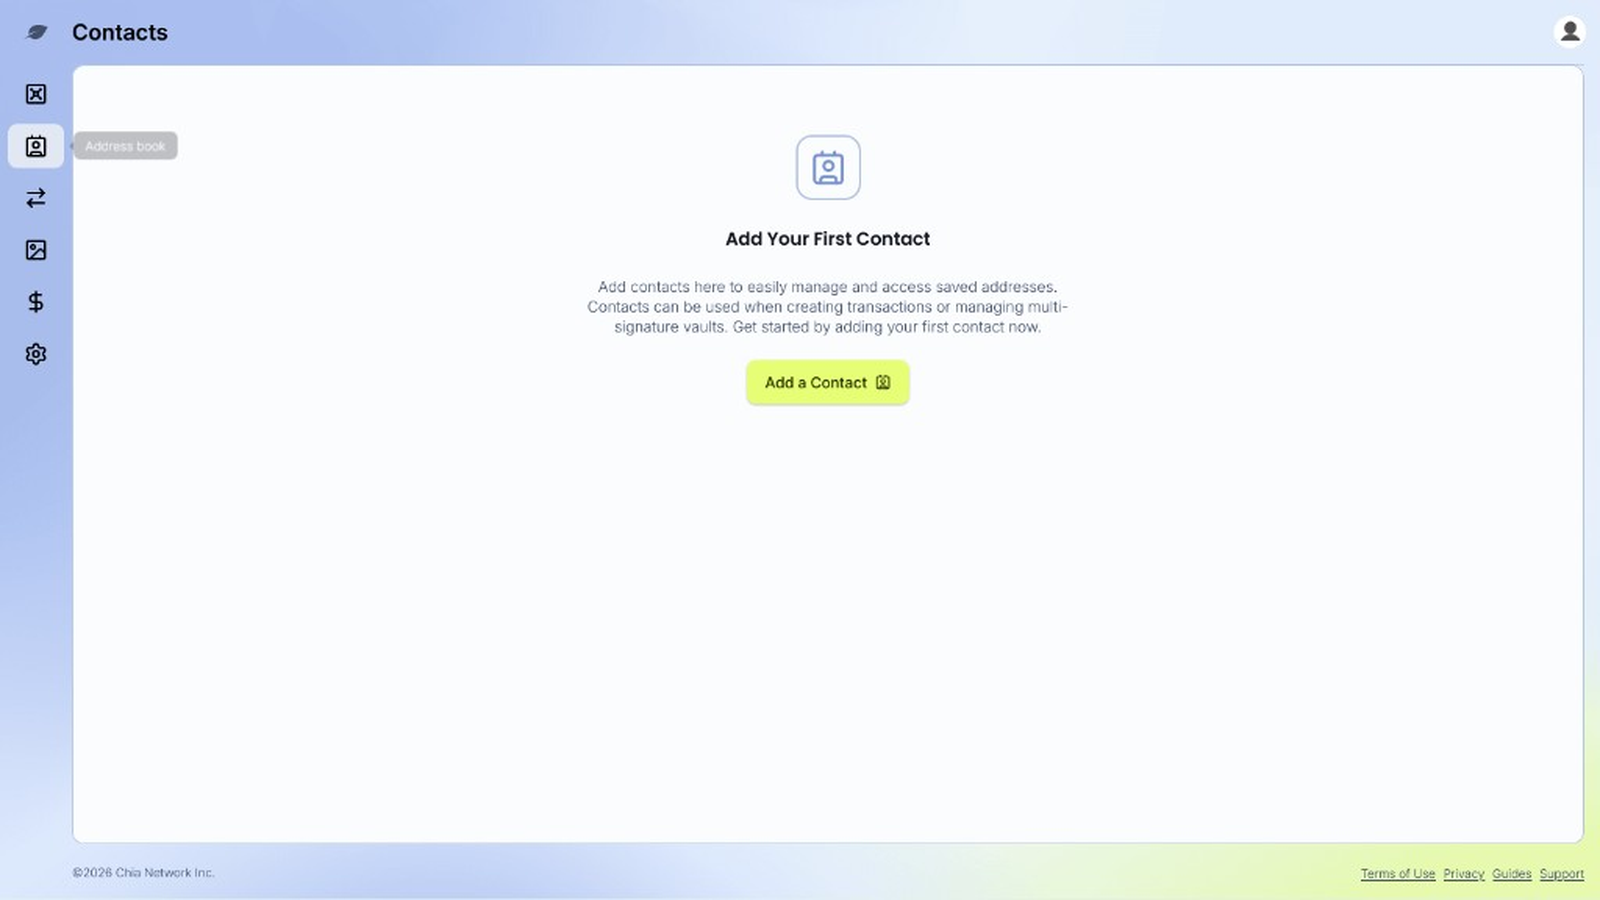
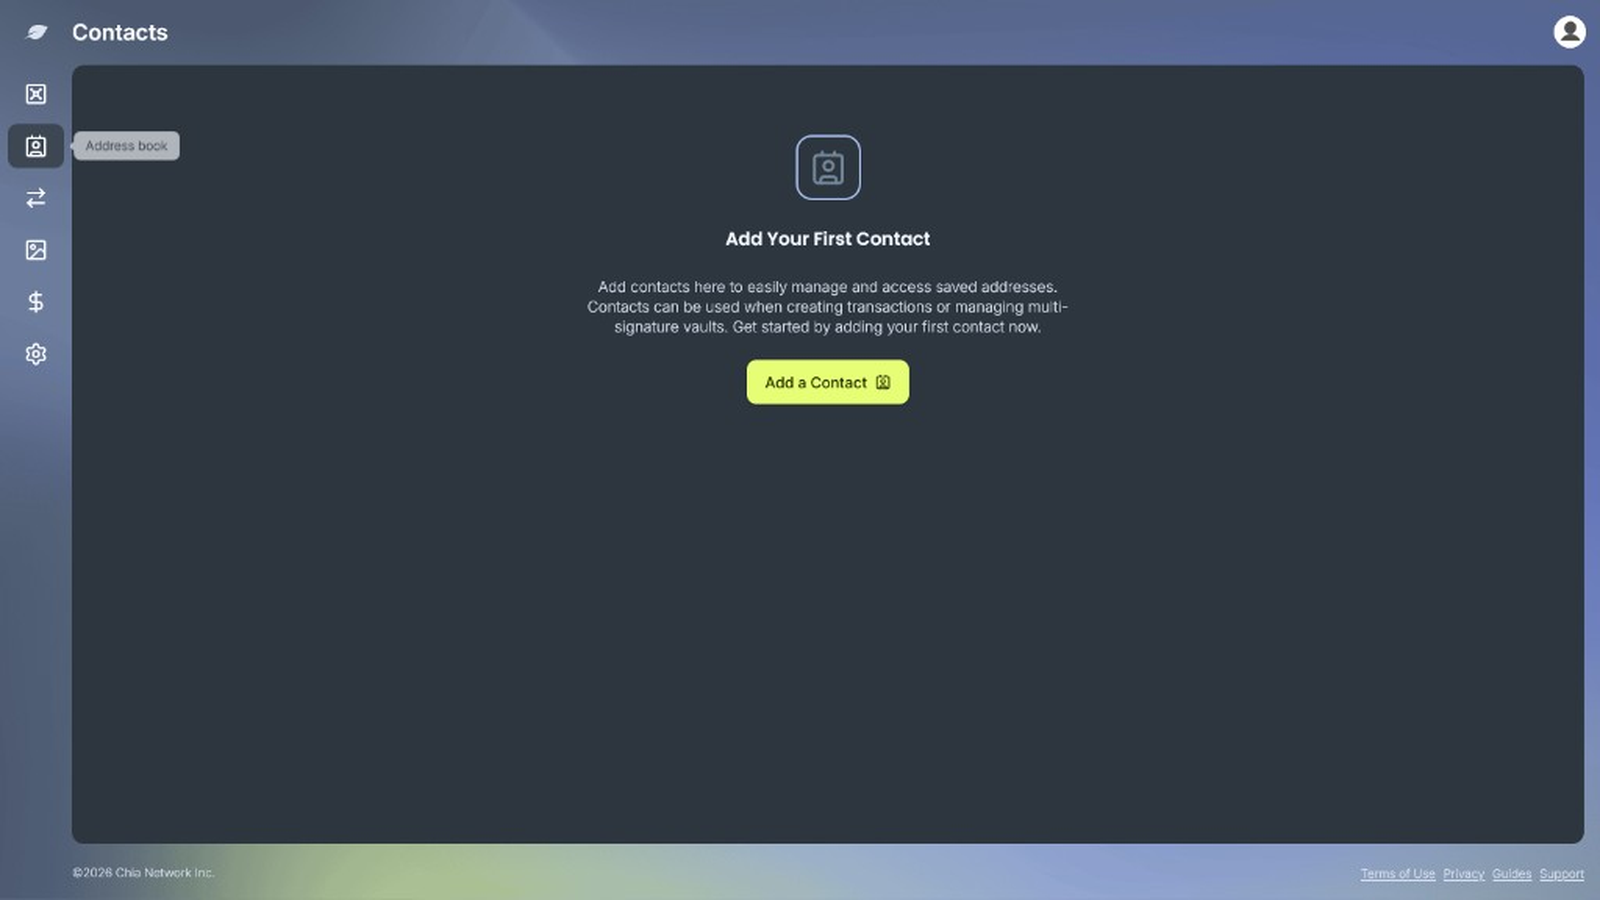
- Click
Add a Contact(empty state) orAdd Contact(when you already have contacts).
Add a contact
-
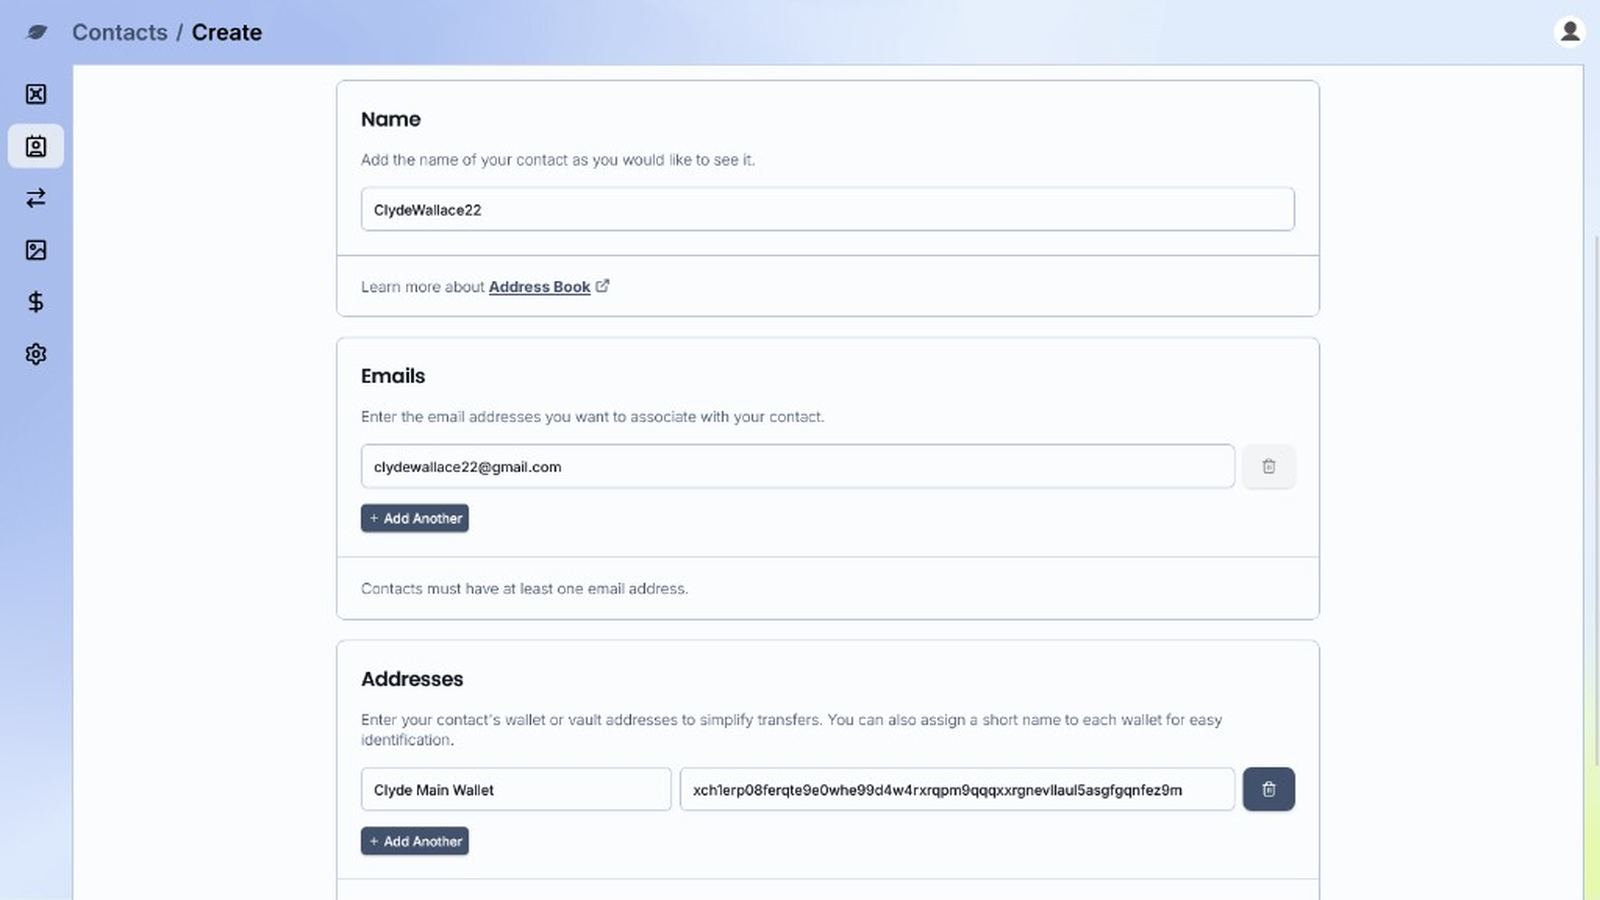
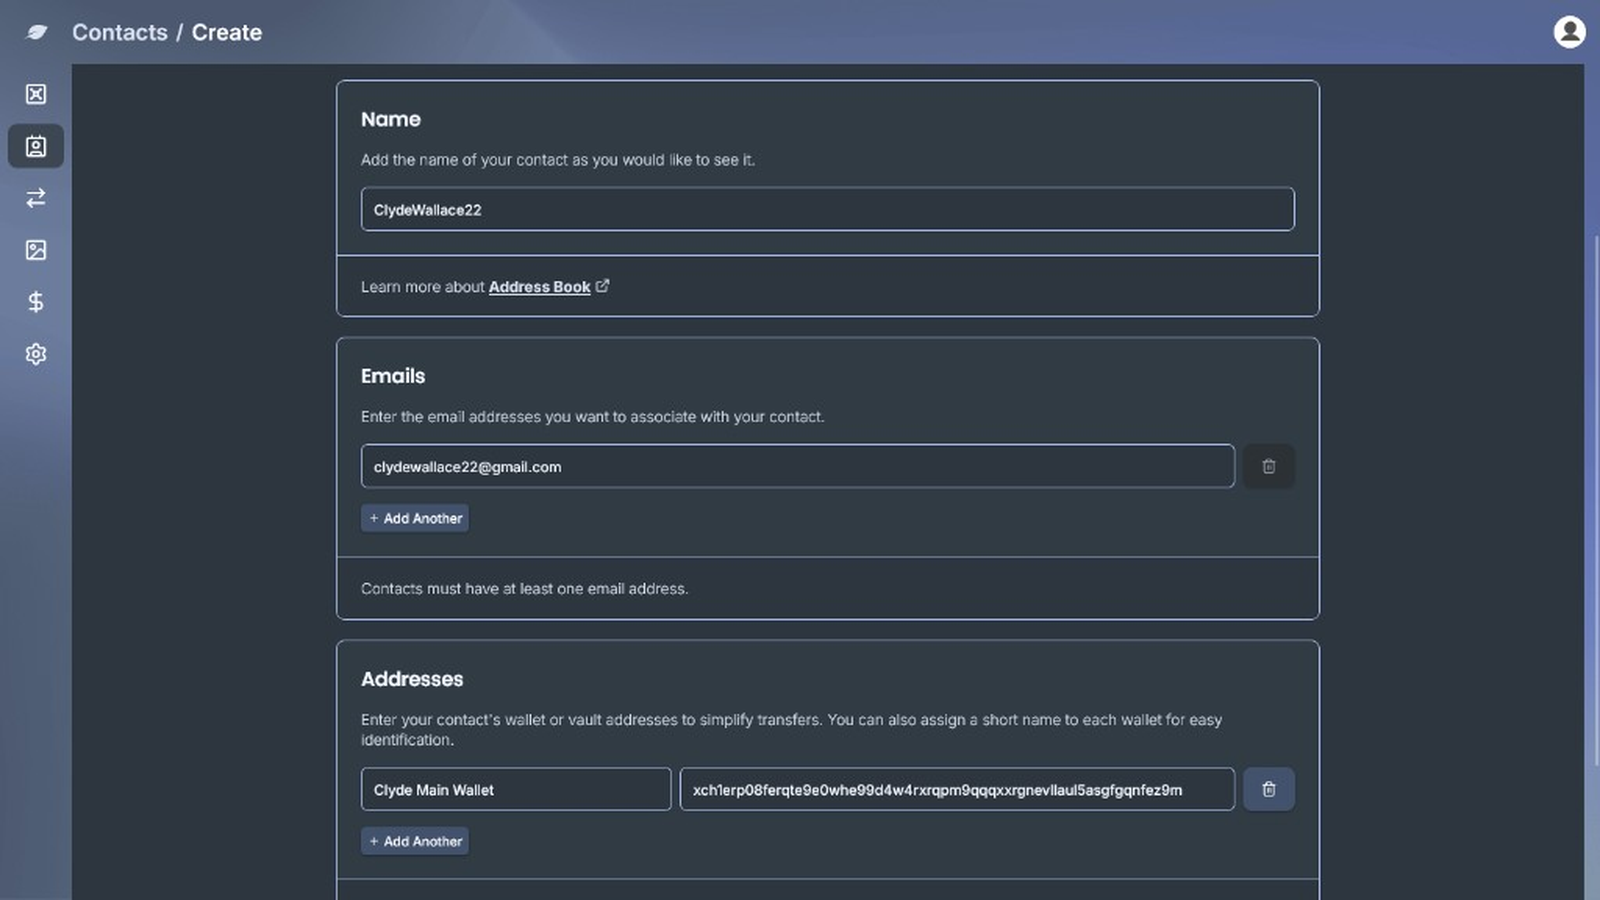
Under
Name, enter the contact name as you want it to appear. -
Under
Emails, enter at least one email address. Use+ Add Anotherfor more emails. Contacts must have at least one email. -
Under
Addresses, optionally add Chia addresses. Each row has a short name (label) and anAddress. Use+ Add Anotherfor more addresses.
- Click
Create Contactto return to the list. Duplicate emails, addresses, or labels are blocked. If the app reports a duplicate, change the conflicting value and try again.
Contacts list
After you add contacts, the Address Book list shows search, Sort, and Add Contact. Each card shows the contact name, email, and address label when one is saved. Use the trash icon on a card to delete that contact.
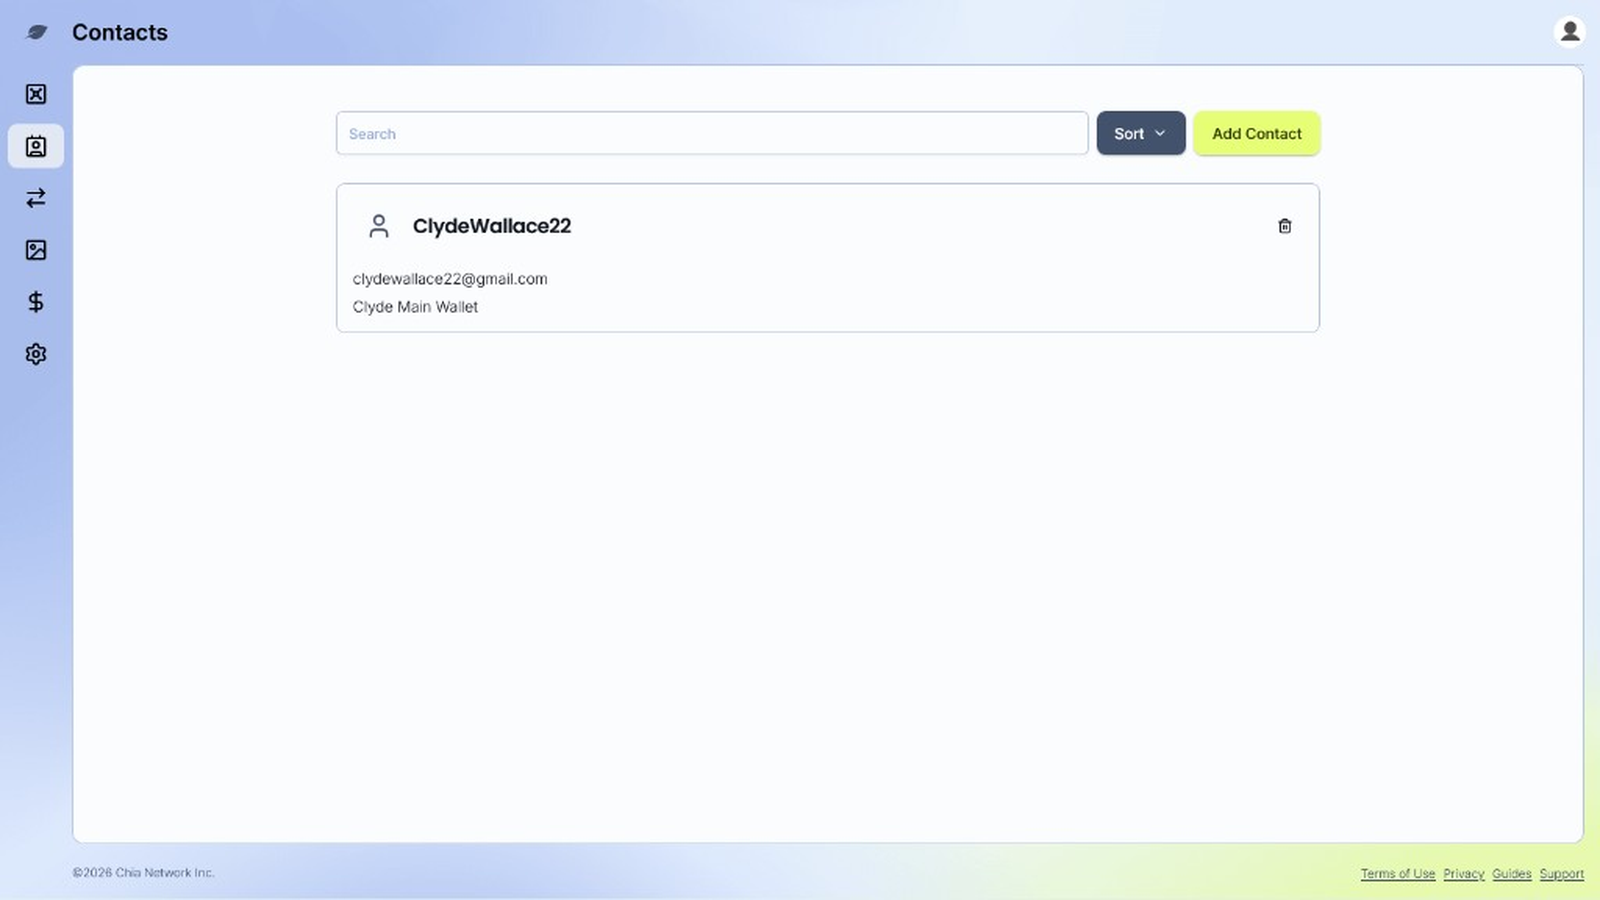
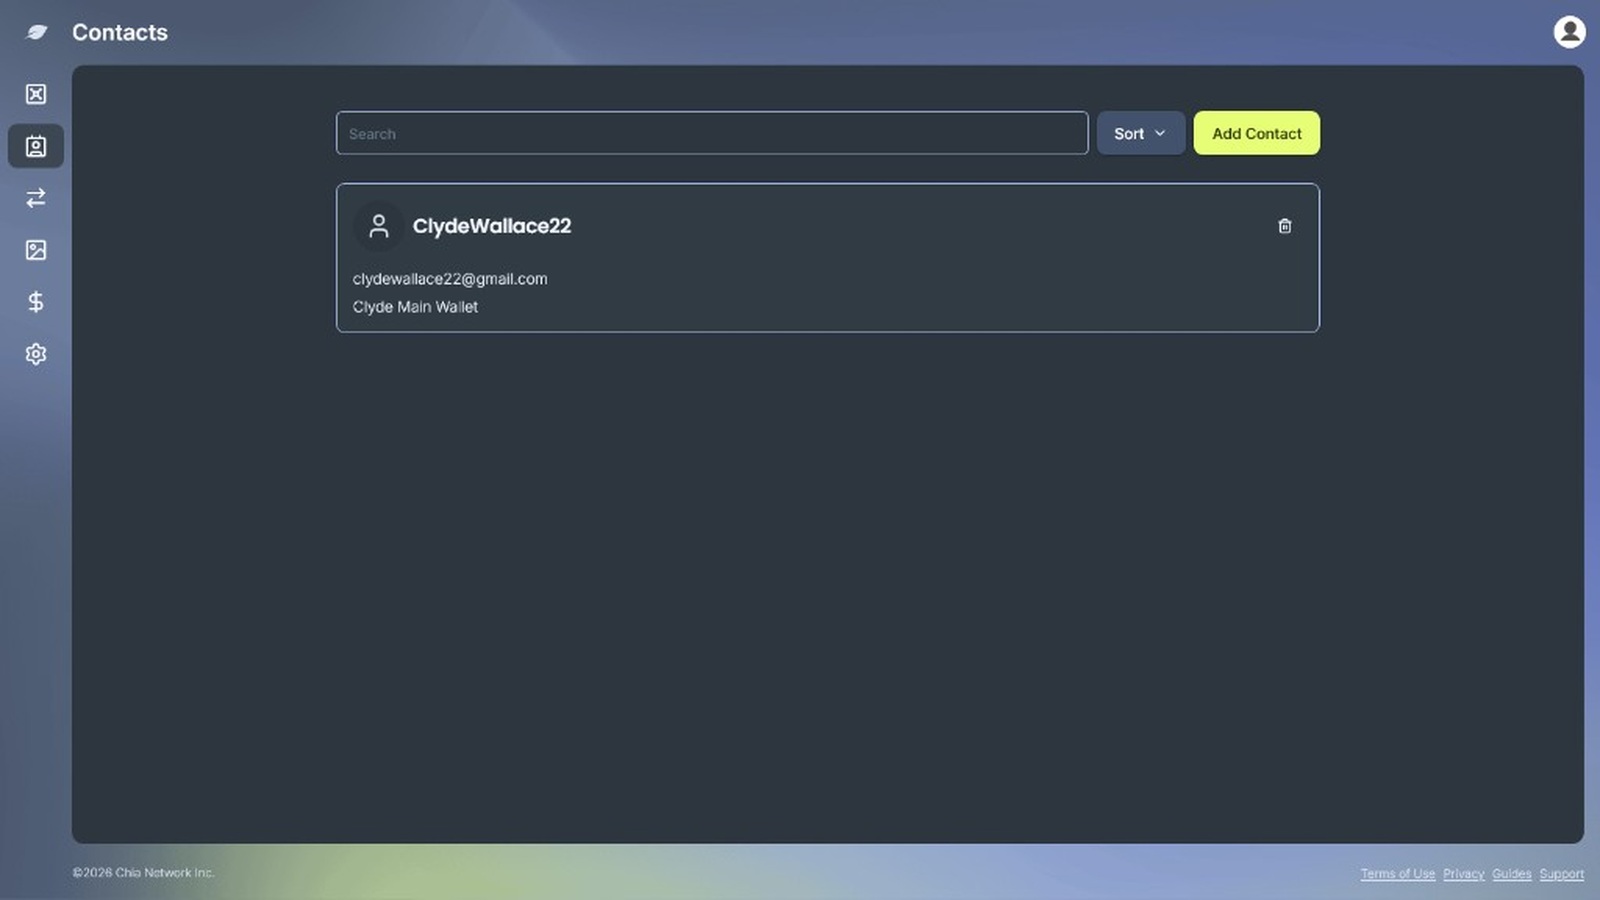
Sort options include Oldest to Newest, Newest to Oldest, A to Z, and Z to A.
View and edit a contact
-
From the Address Book list, click a contact card to open it.
-
Edit the name, emails, or addresses on the contact page. The layout matches Create Contact. Changes save when you leave a field (there is no separate Save button).
-
Return to the list when you are done.
Delete a contact
-
On the Address Book list, click the trash icon on the contact card.
-
Confirm in the
Delete contactdialog. The warning states that the action is not reversible. -
Click
Deleteto remove the contact, orCancelto keep it.
Use a contact when sending
When you send XCH, a token, or an NFT from a vault, the Send To field accepts a typed address or a contact suggestion.
-
Open Send for the asset you want to transfer.
-
In
Send To, start typing a contact name, email, address, or label. You can also use the address book control on the address field. -
Choose a suggestion to fill the destination address. Suggestions show the contact name, email, and labeled address when available.
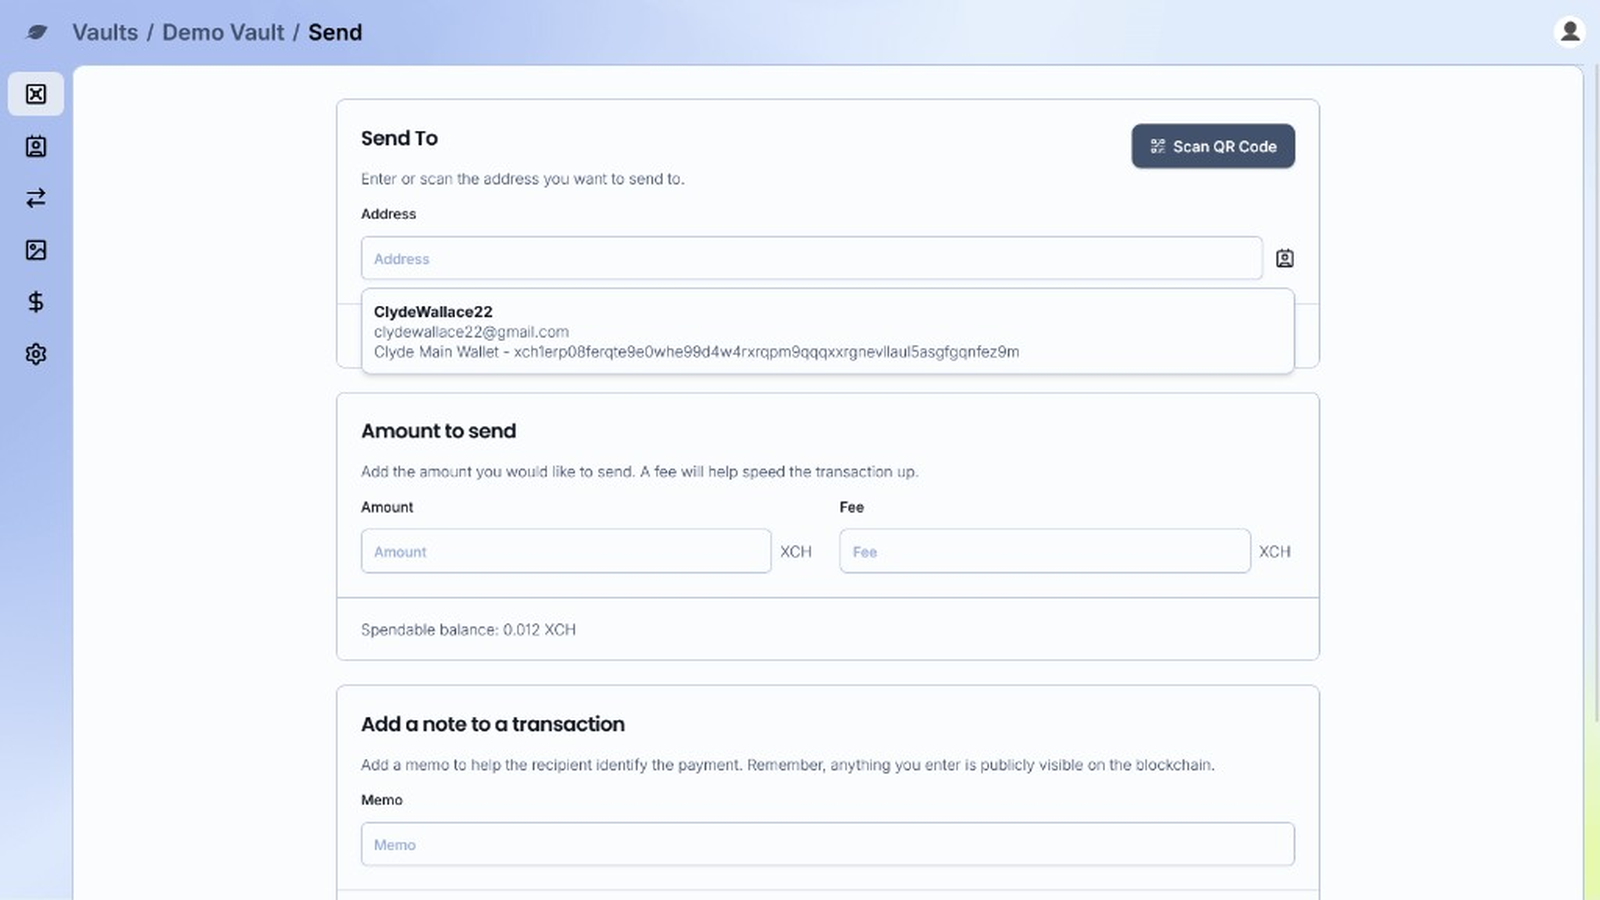
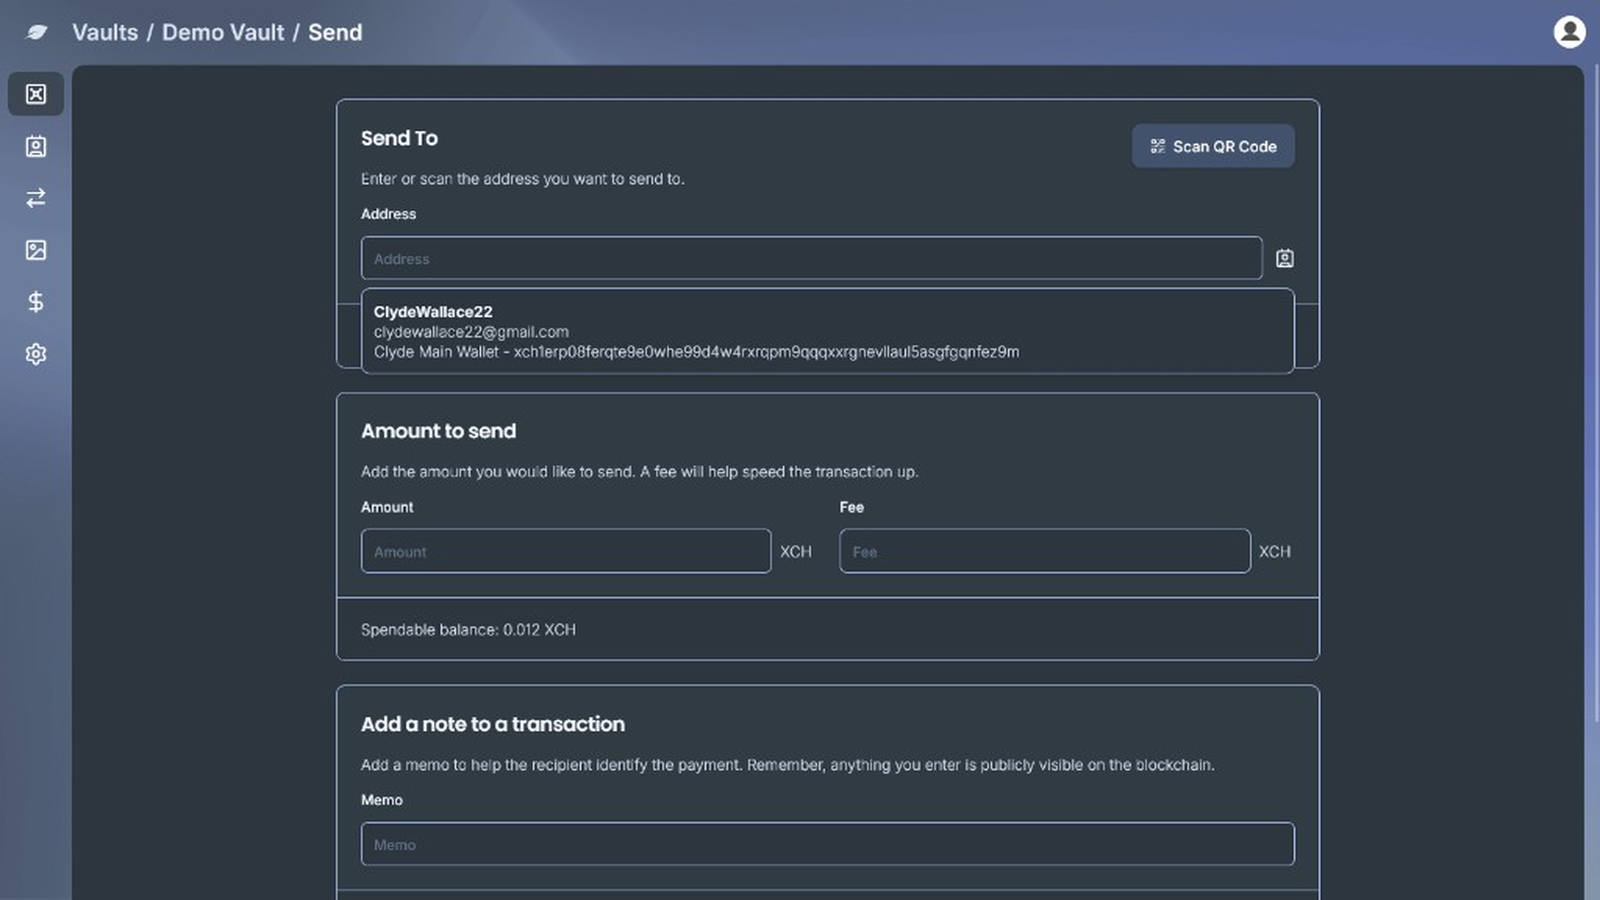
You can still paste any valid address directly without using a saved contact.
Troubleshooting
- Ensure every contact has a name and at least one valid email
- Use a valid Chia address in the Addresses section
- If send suggestions do not appear, confirm the contact has at least one saved address
- For additional support, use In App Support